Never Stop Running
2025
Say Hi to the Guy with the Rainbow in the Sky
2020
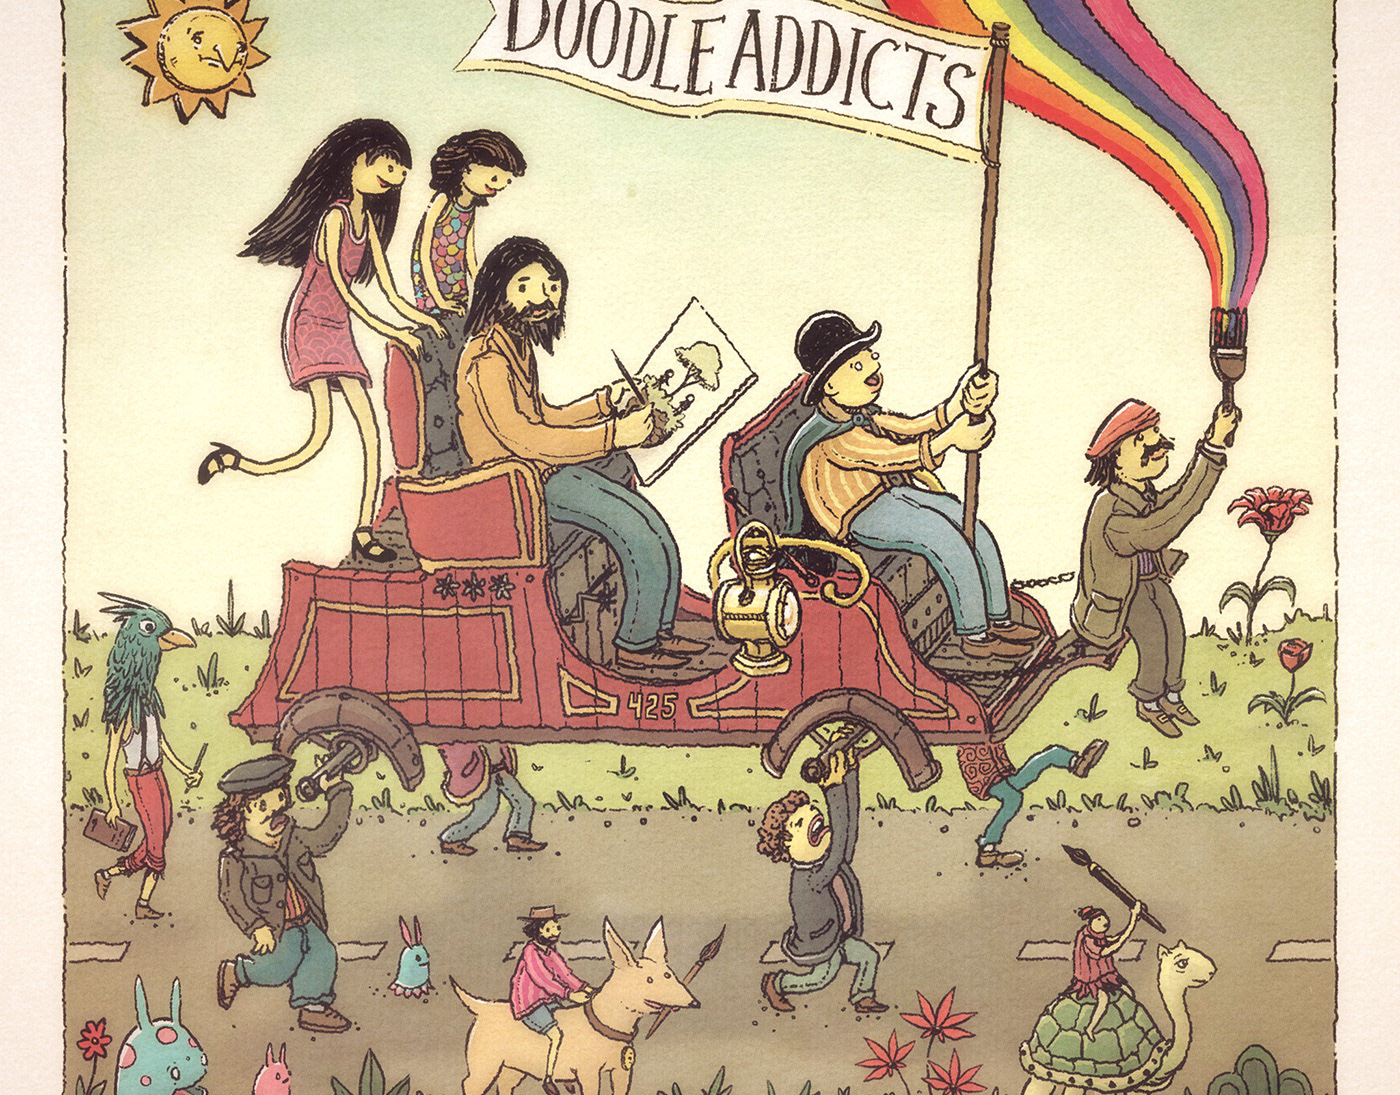
Oodles of Thanks for the Doodles of Angst
2020

Good Luck With the Watercolor Truck
2020
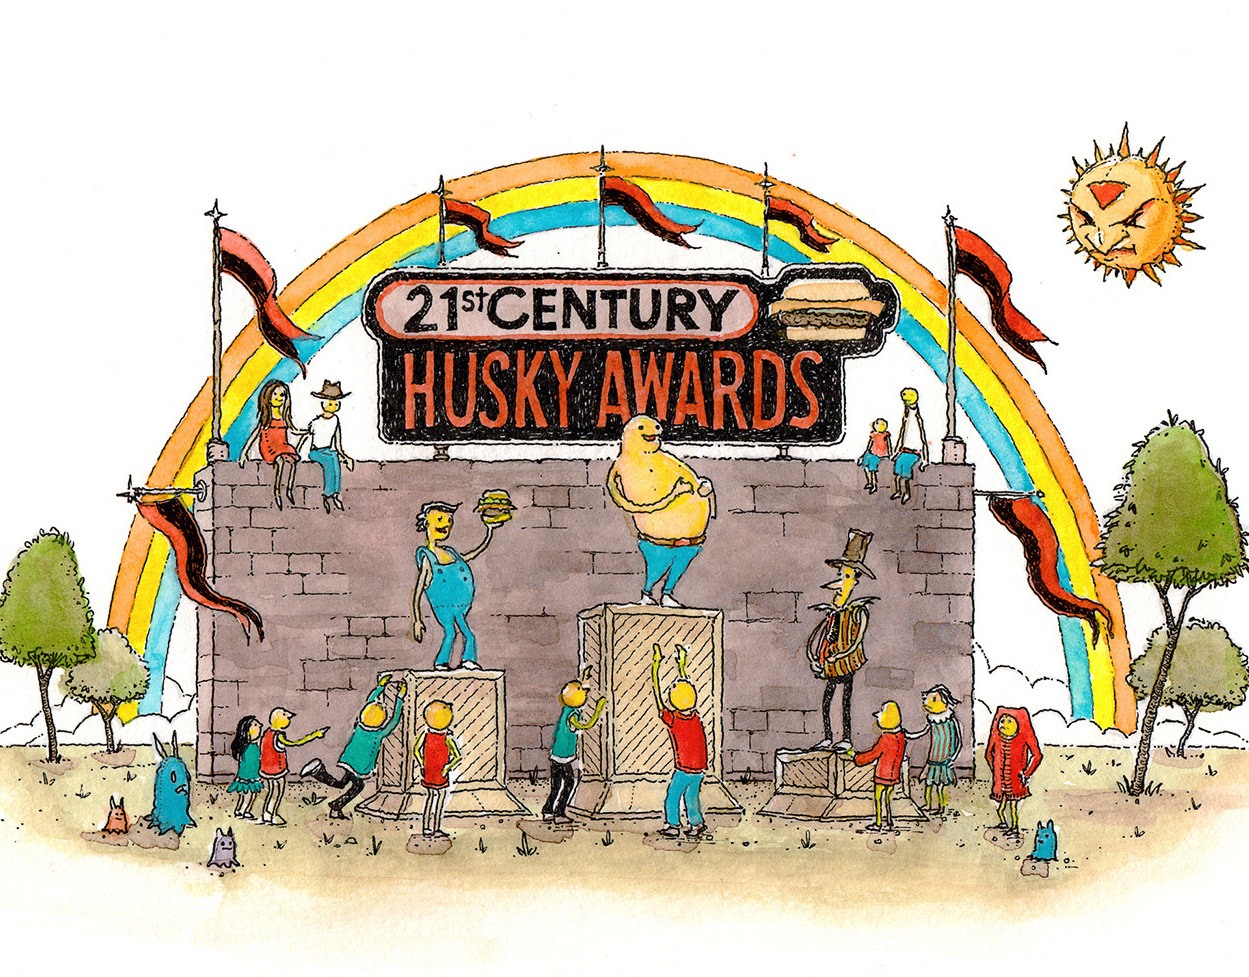
21st Century Husky Awards
2020
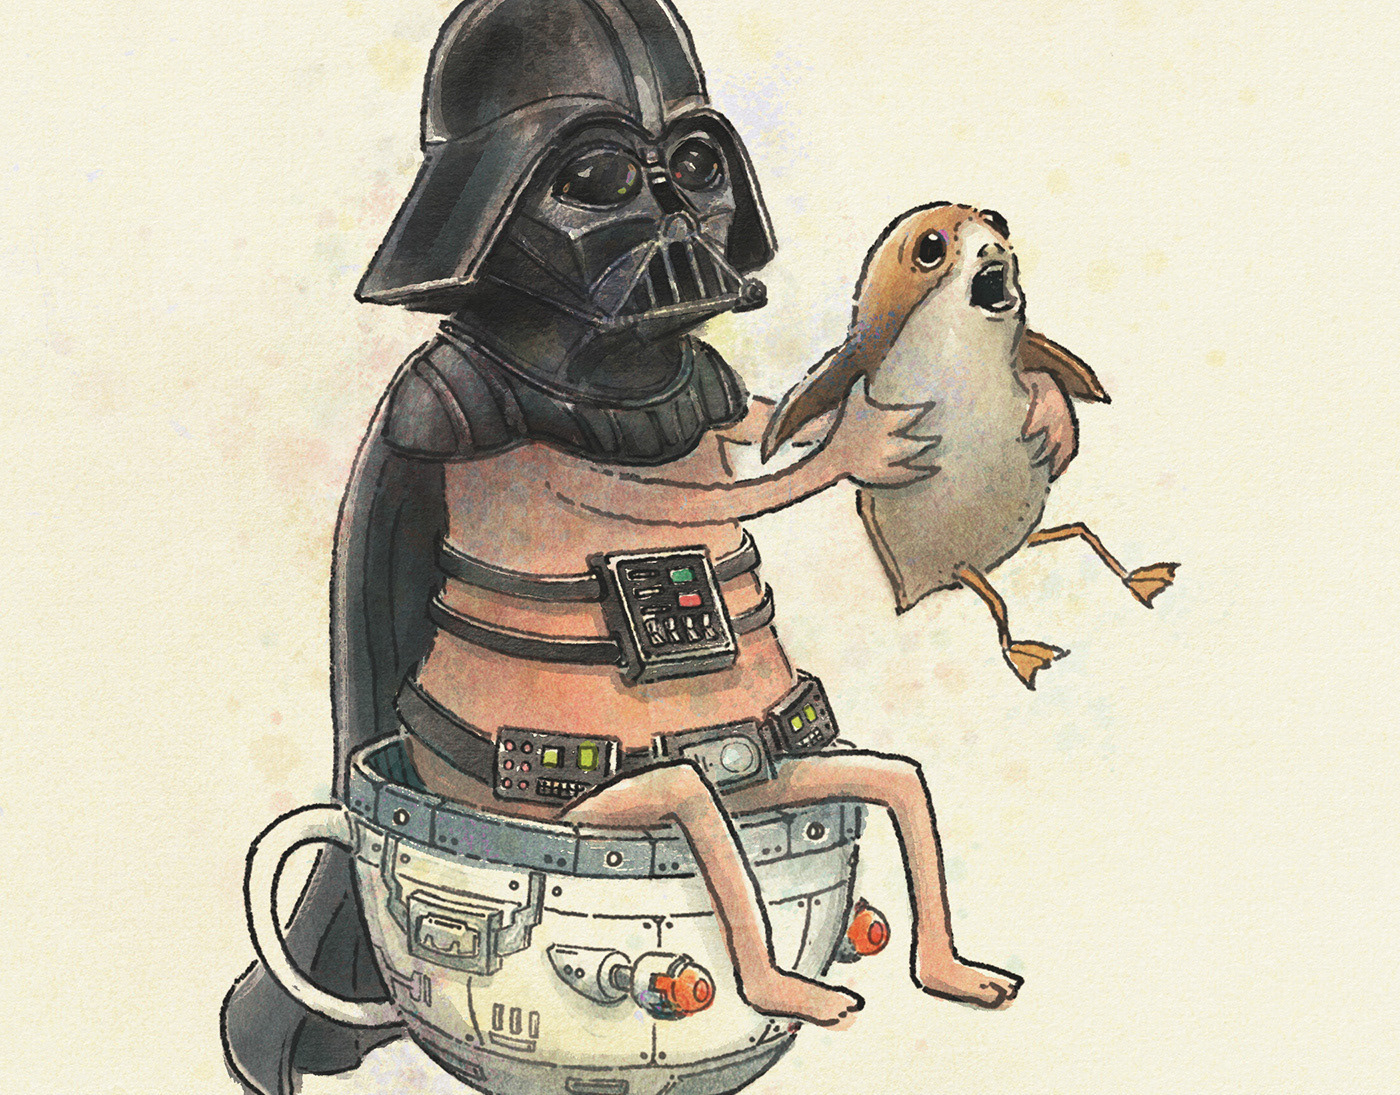
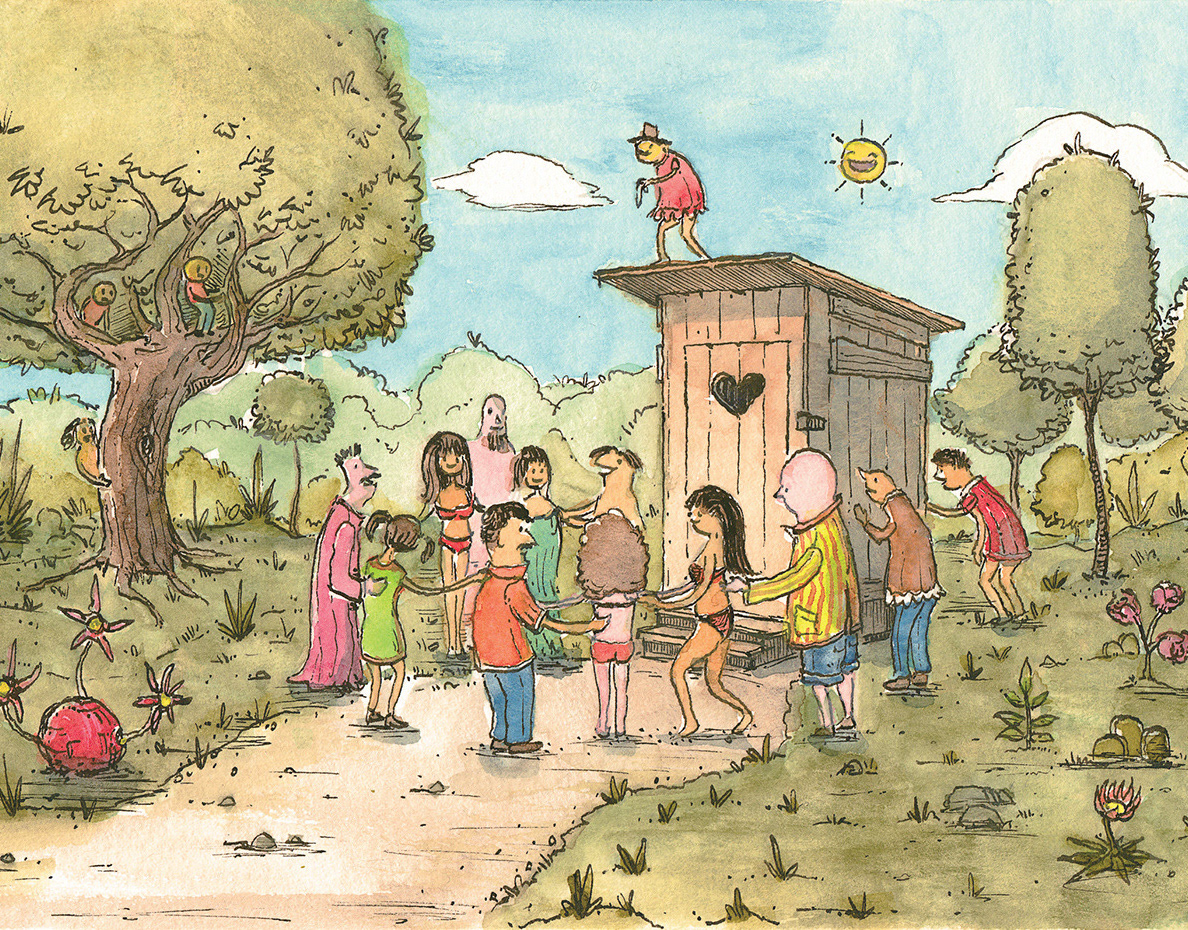
It's a Tea Cup, Not a Pee Cup
2020
Adventures in Watercolor
2020
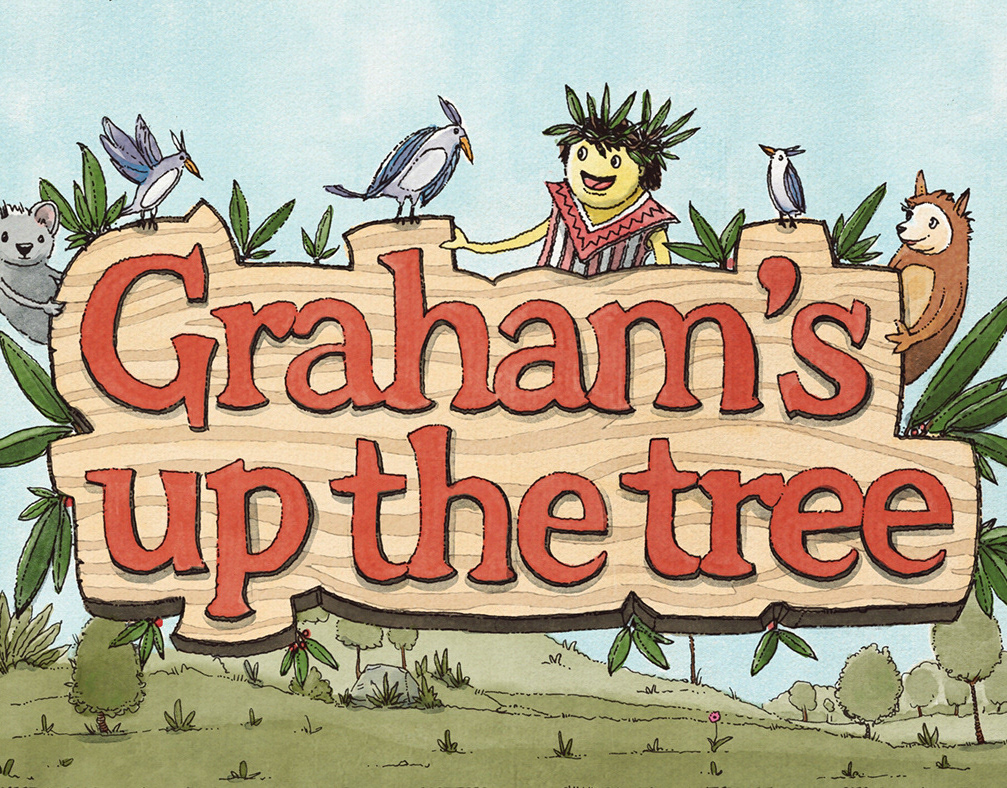
Graham's Up the Tree
2020
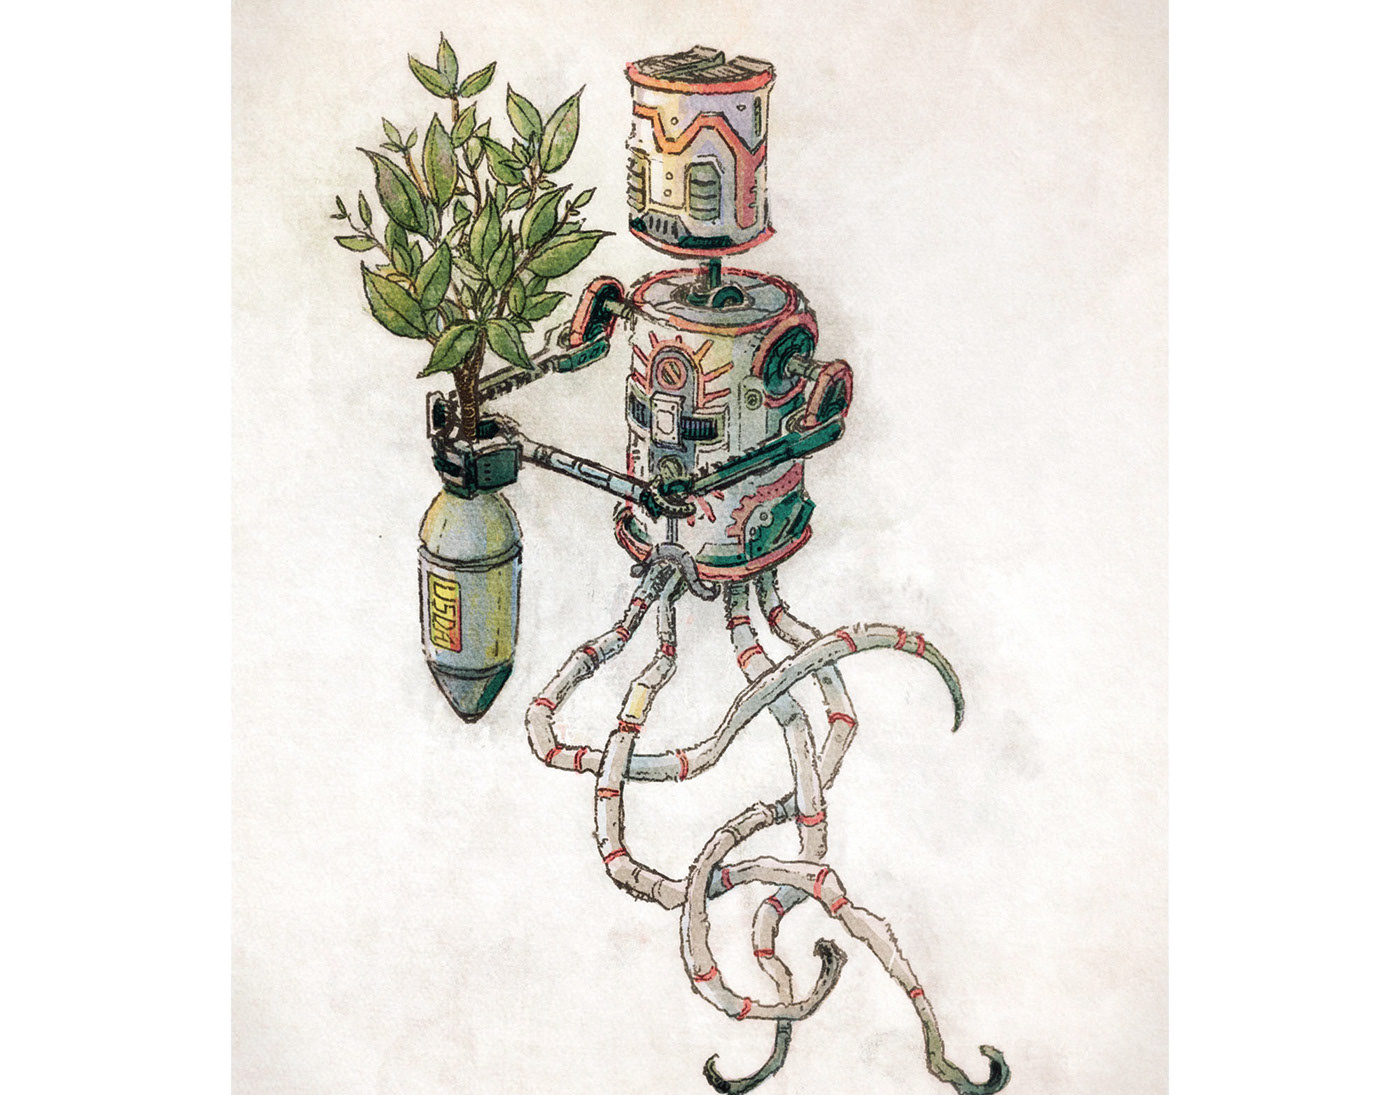
Don't Panic. War Is Okay as Long as It's Organic.
2018
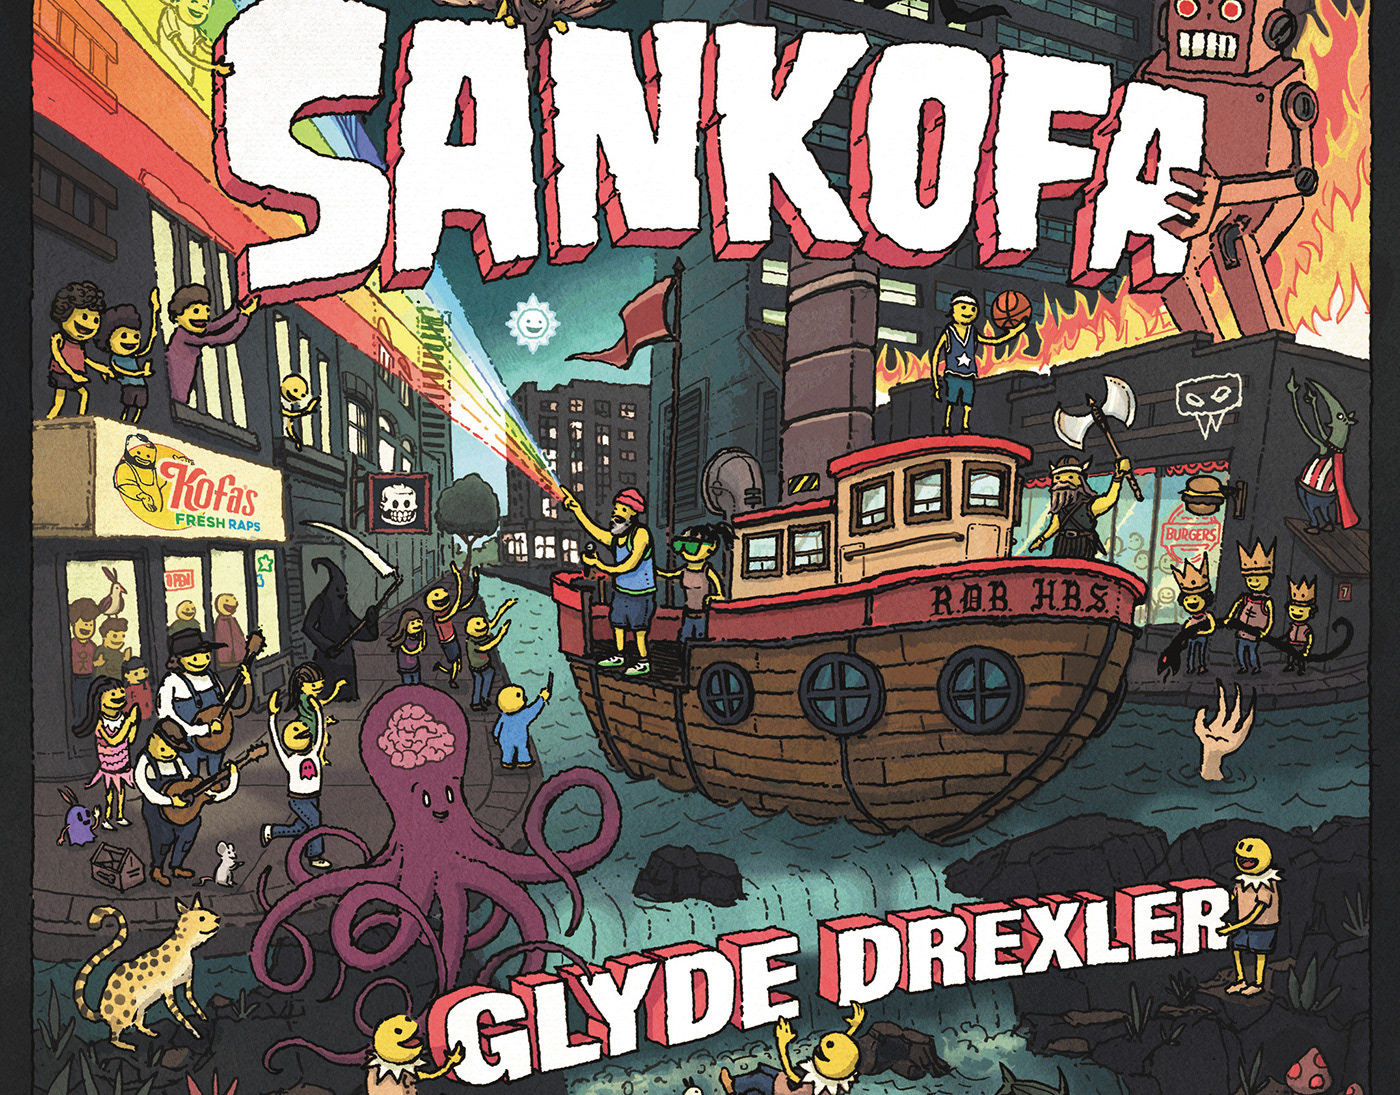
Fish Robot Concert Cabin in the Woods
2018
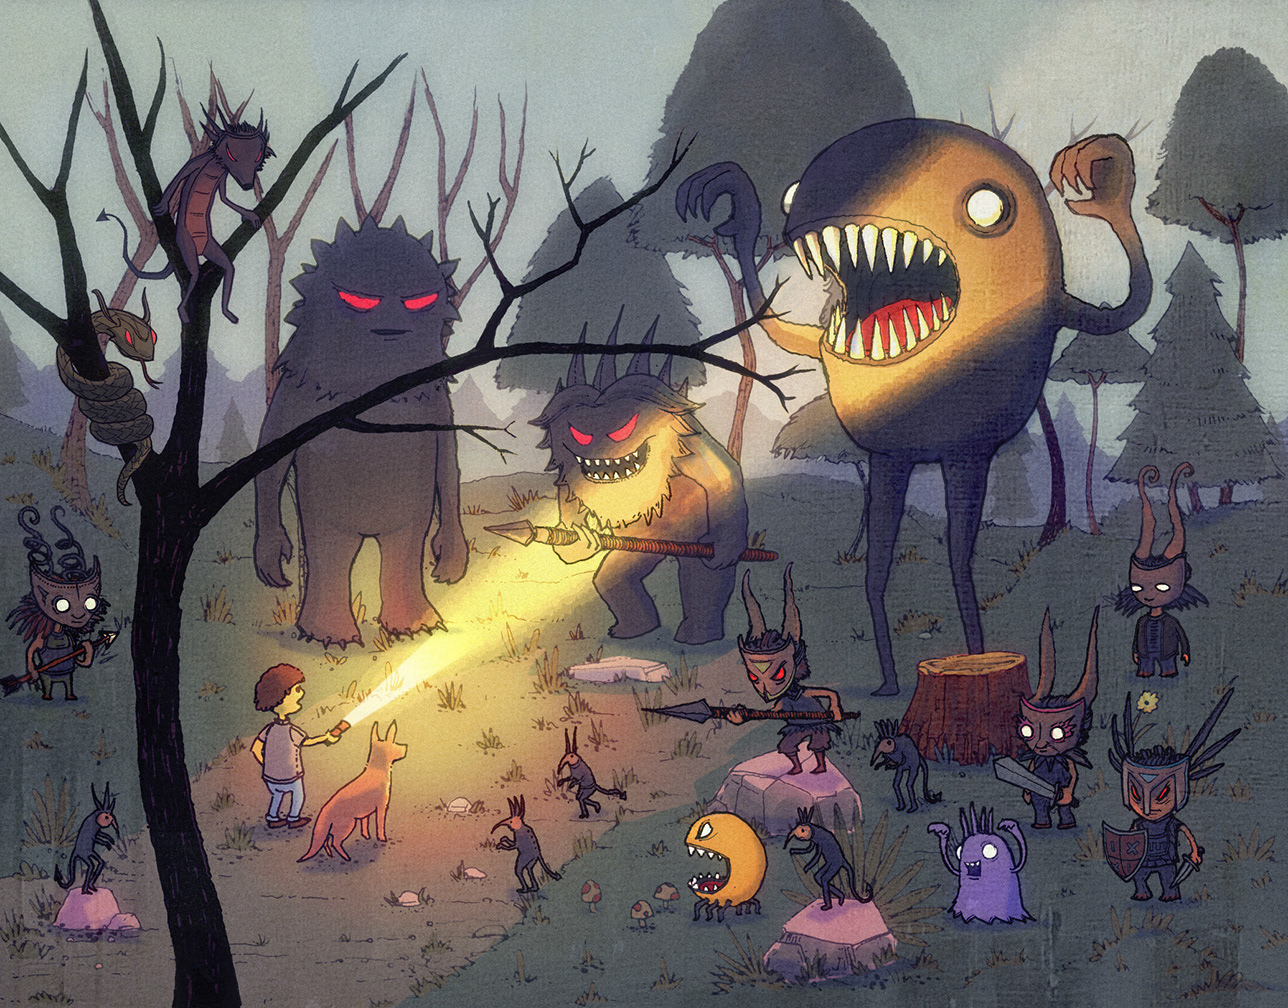
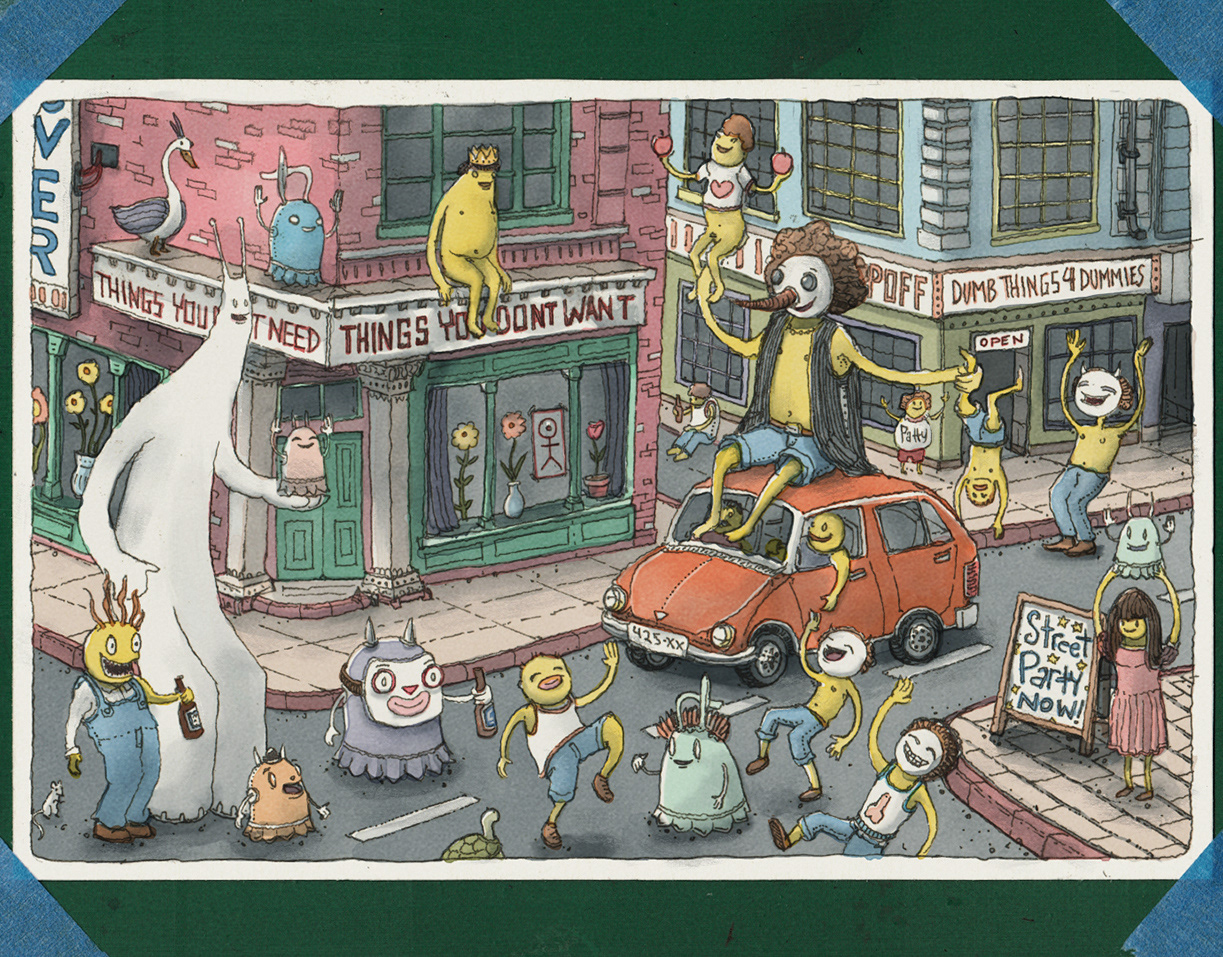
Circle Town - Where Monsters Frown & Peeps Get Down
2018
Happy Little Planets & Skies Full of Tubes
2018
Street Ghost Donkey-Pac? Duck-Duck Jeep Attack!
2018
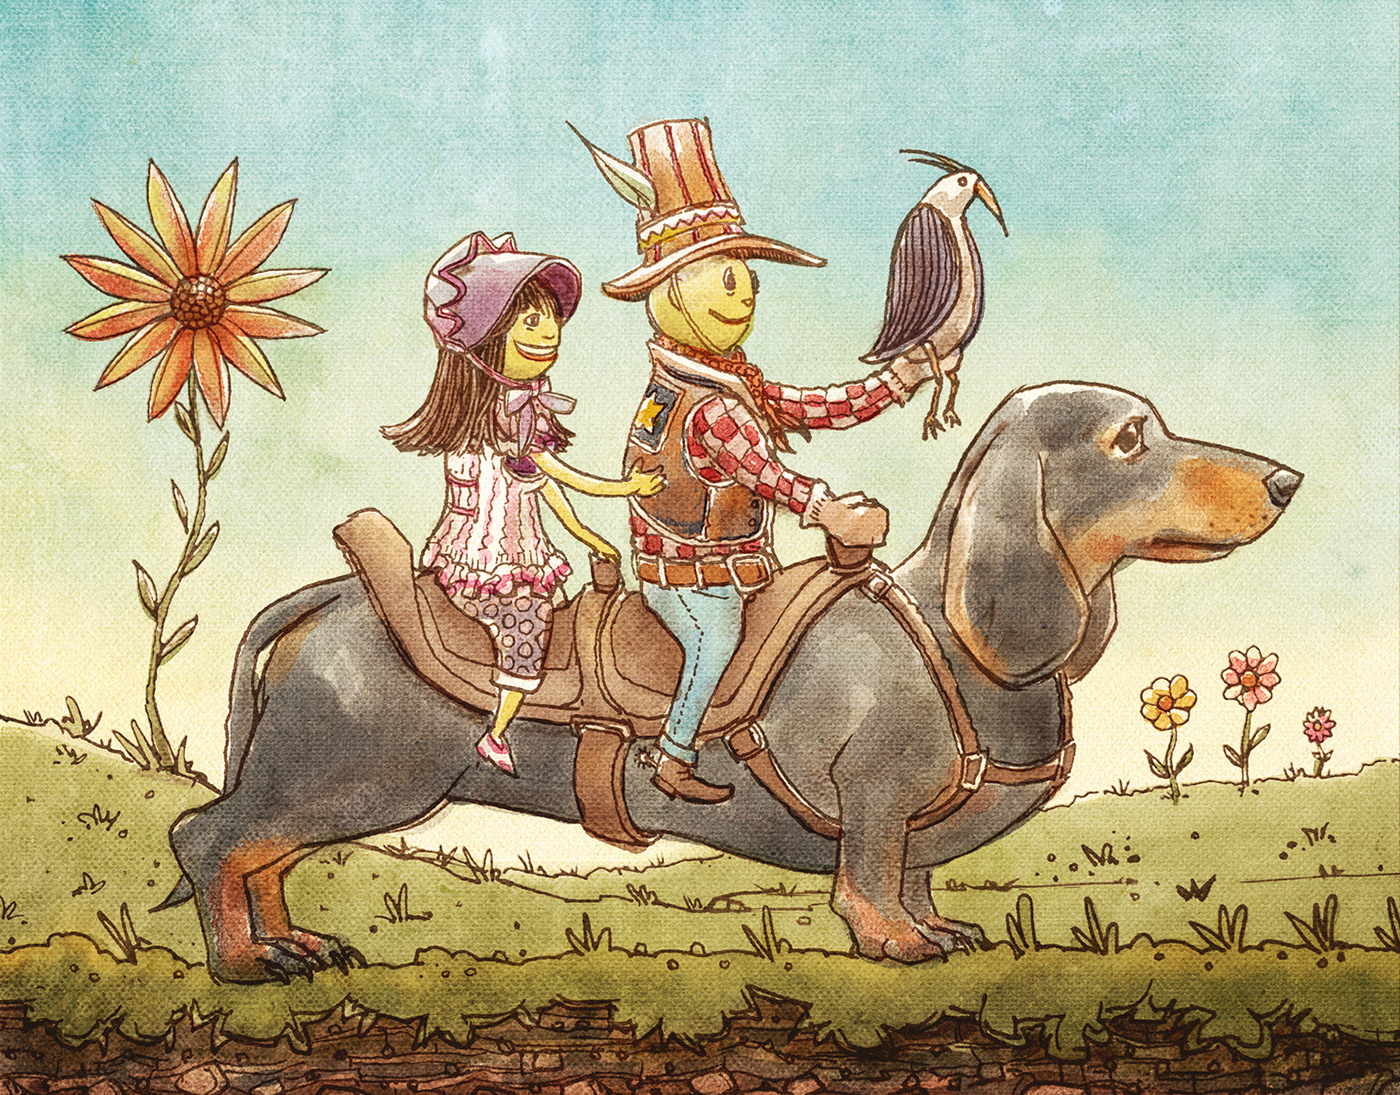
A Dachsund Bus & Dwellings for the Rest of Us
2018
Attack of the Laughing Bully Capsule
2016

Who Said the Bread Was Too Pink for the Planet?
2016
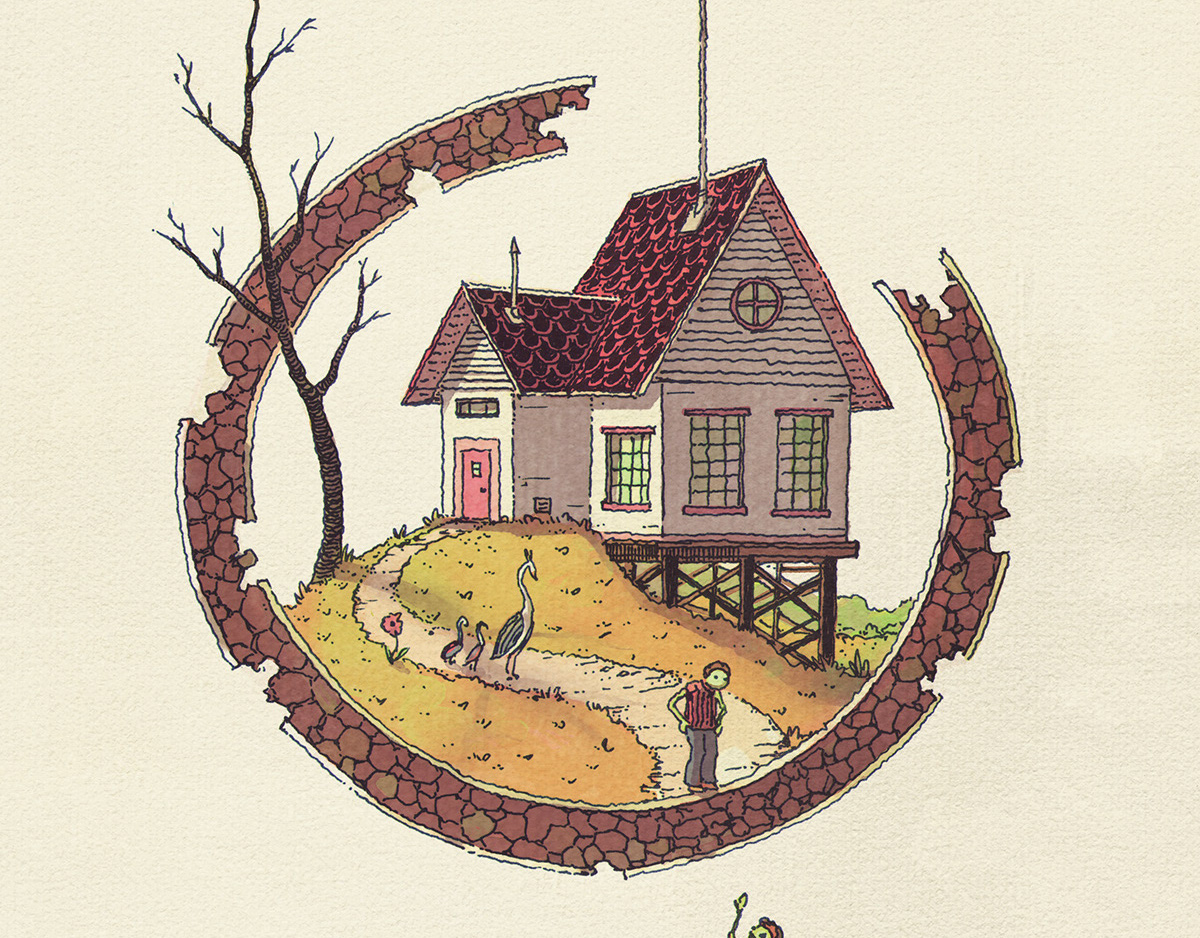
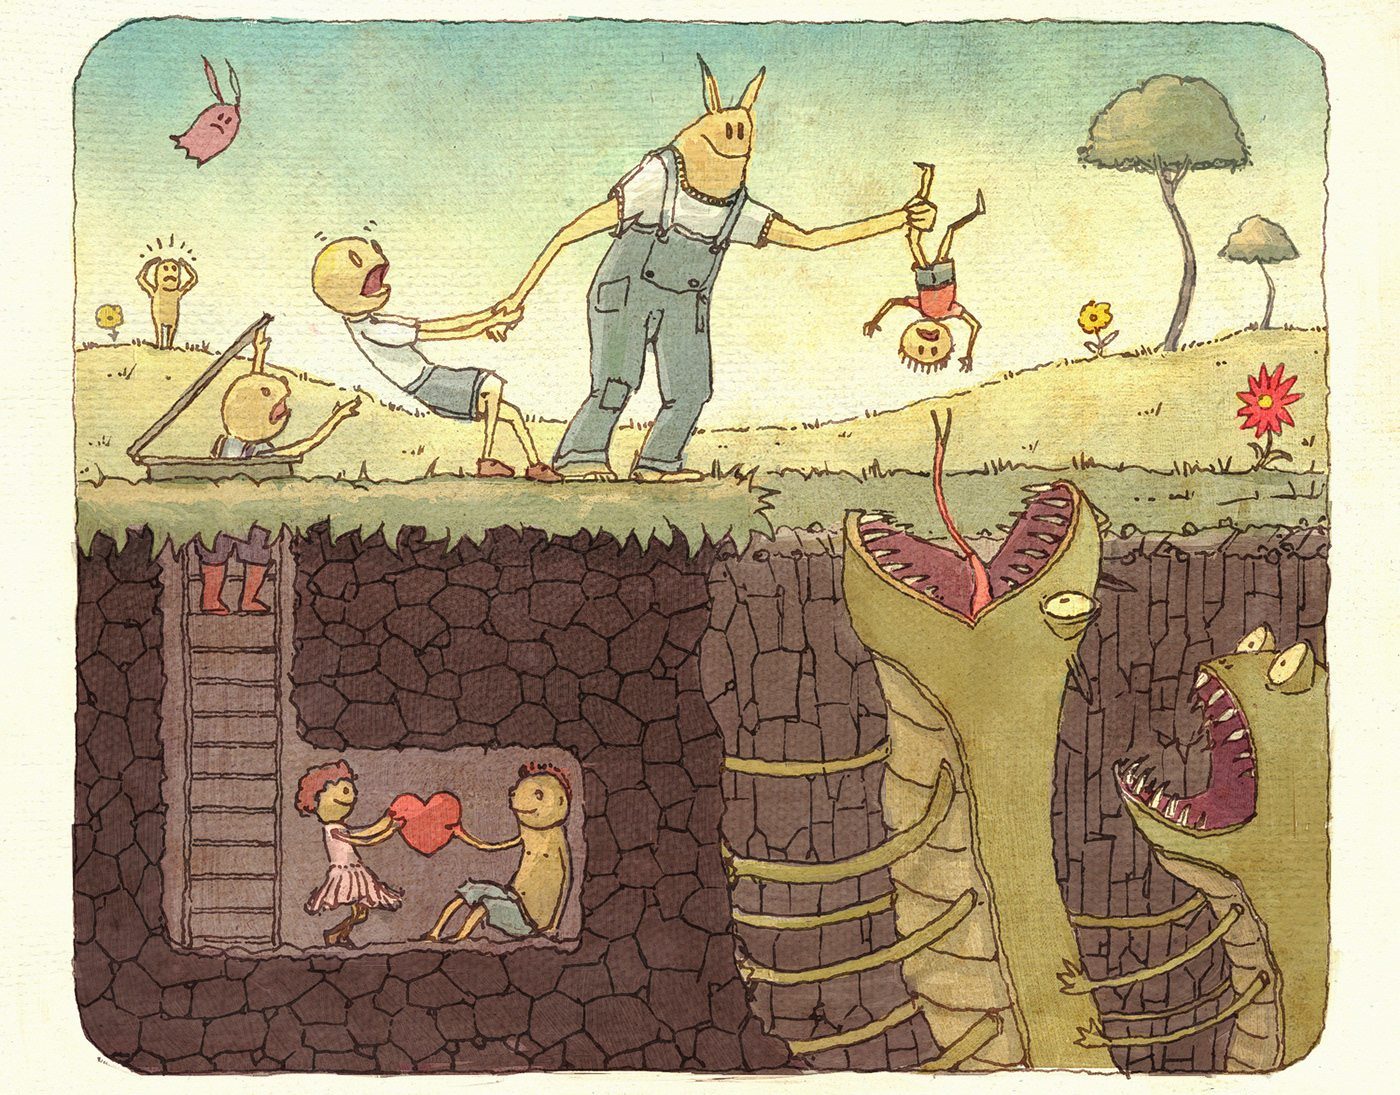
House Atop the Bottom of an Ocean
2016
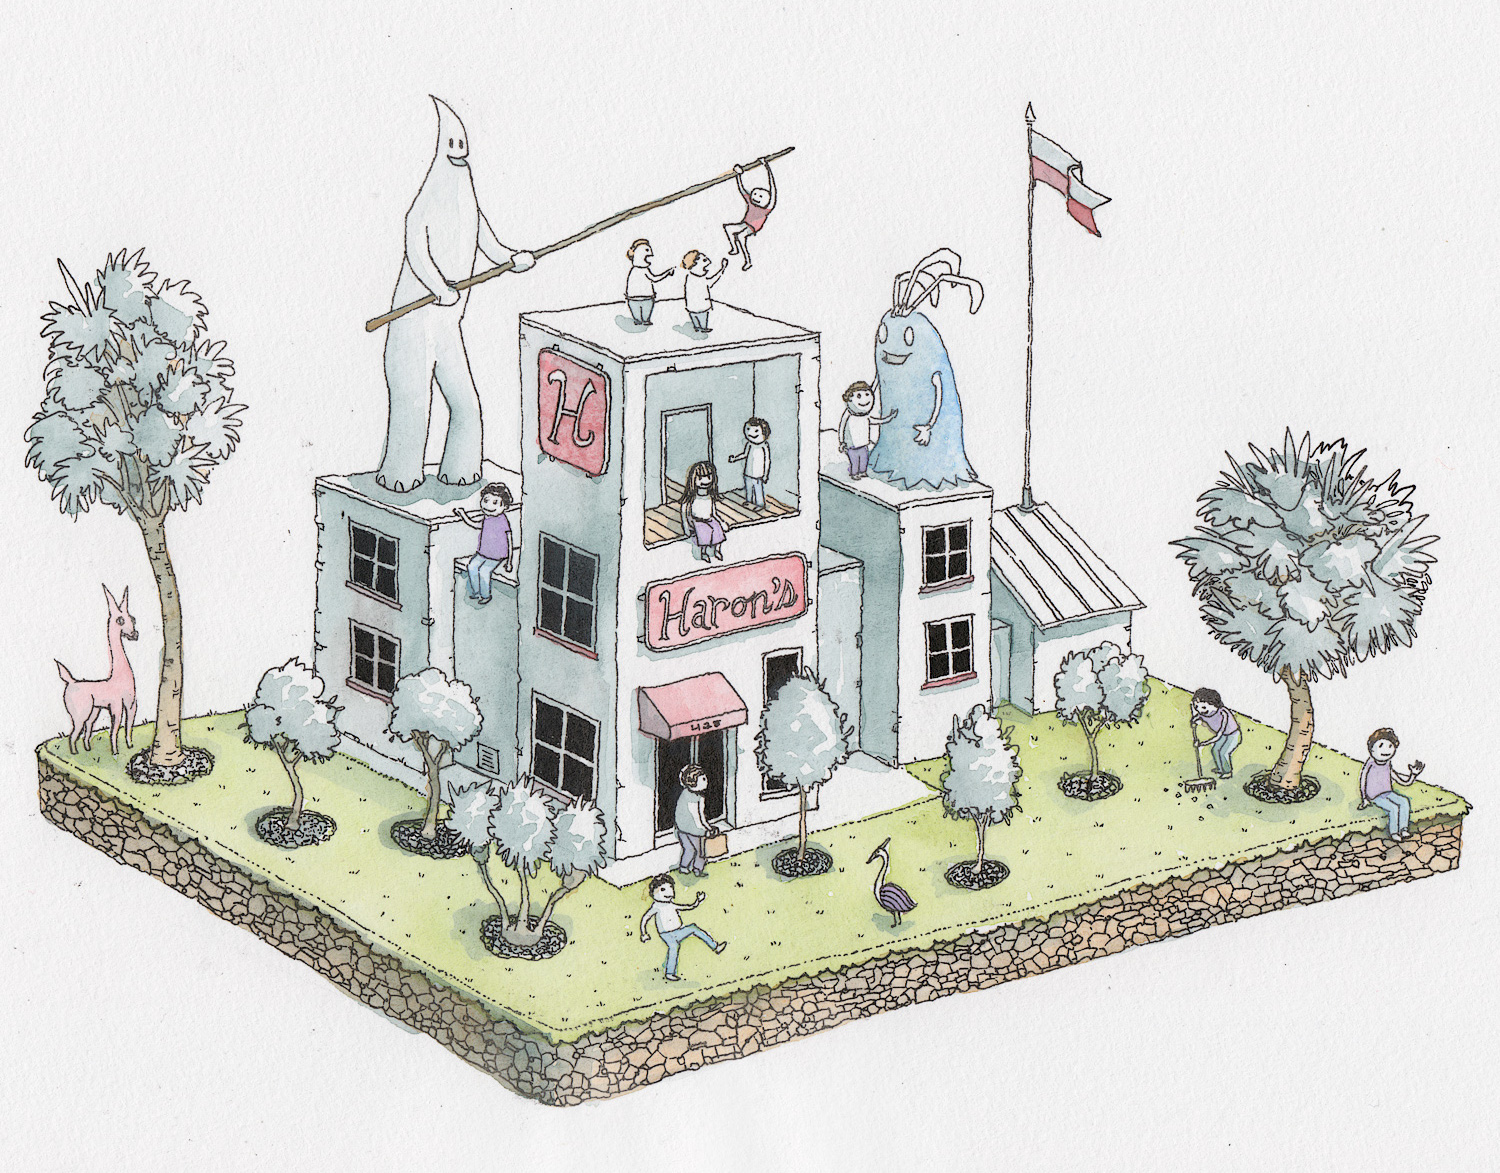
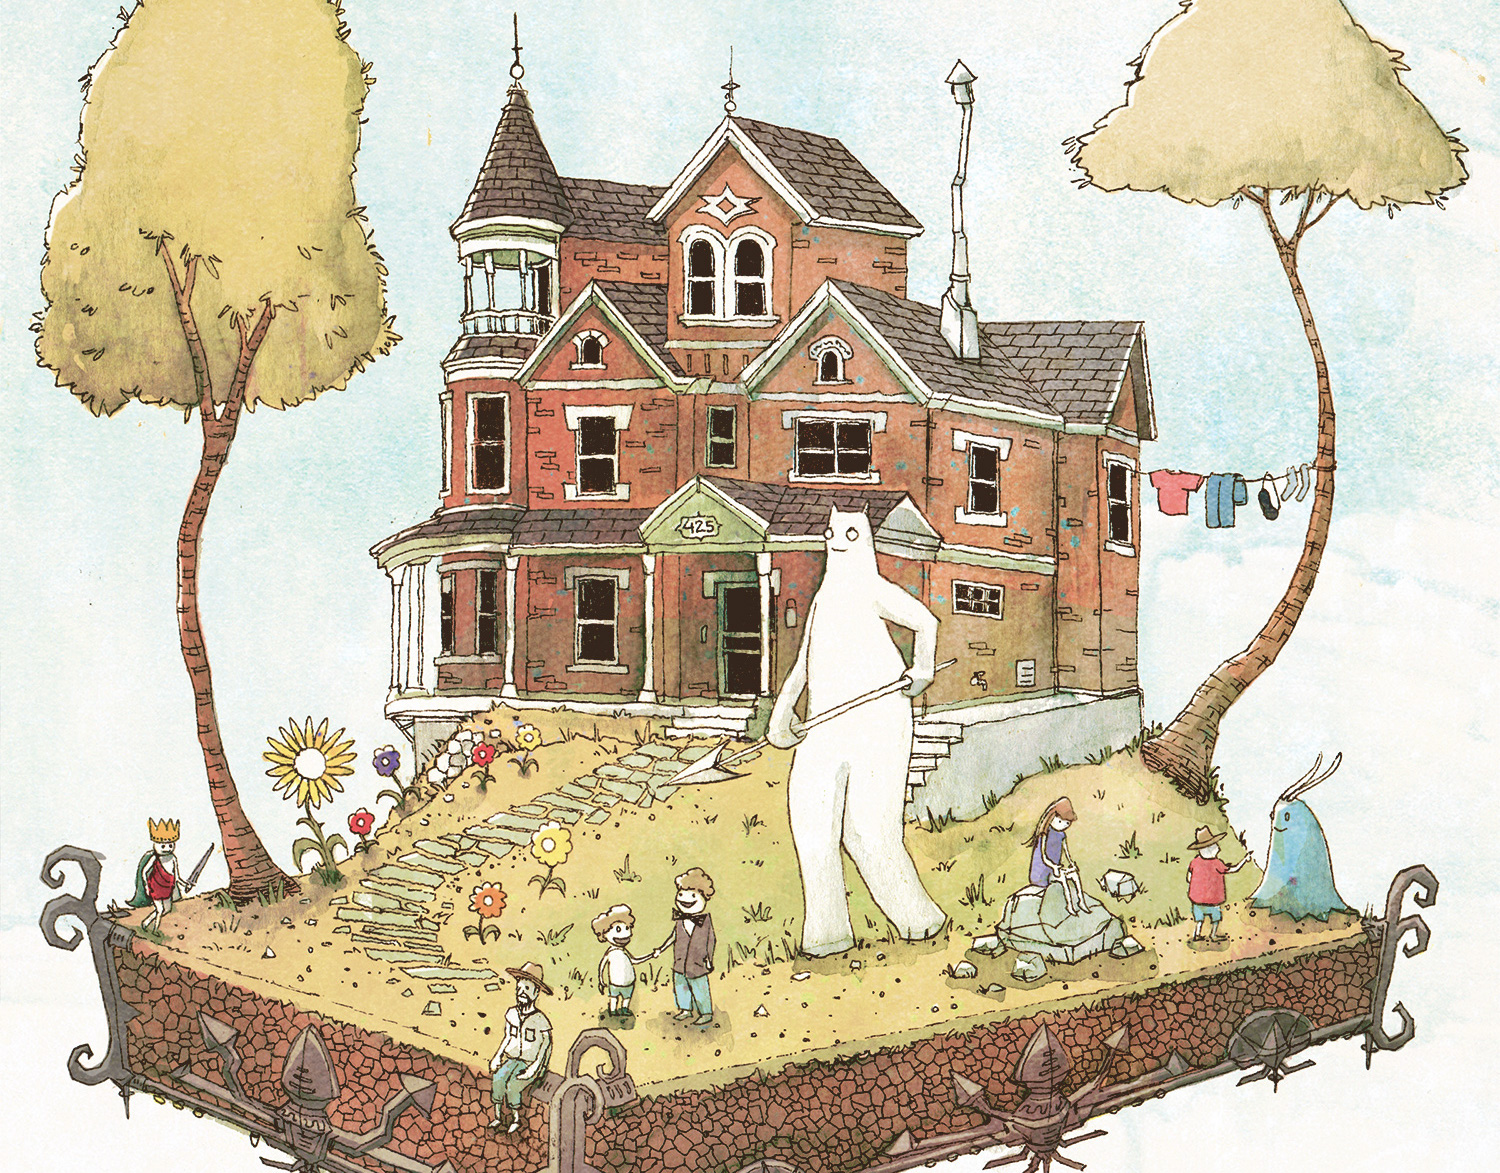
Say 'Ello to Haron's Market Monster
2016
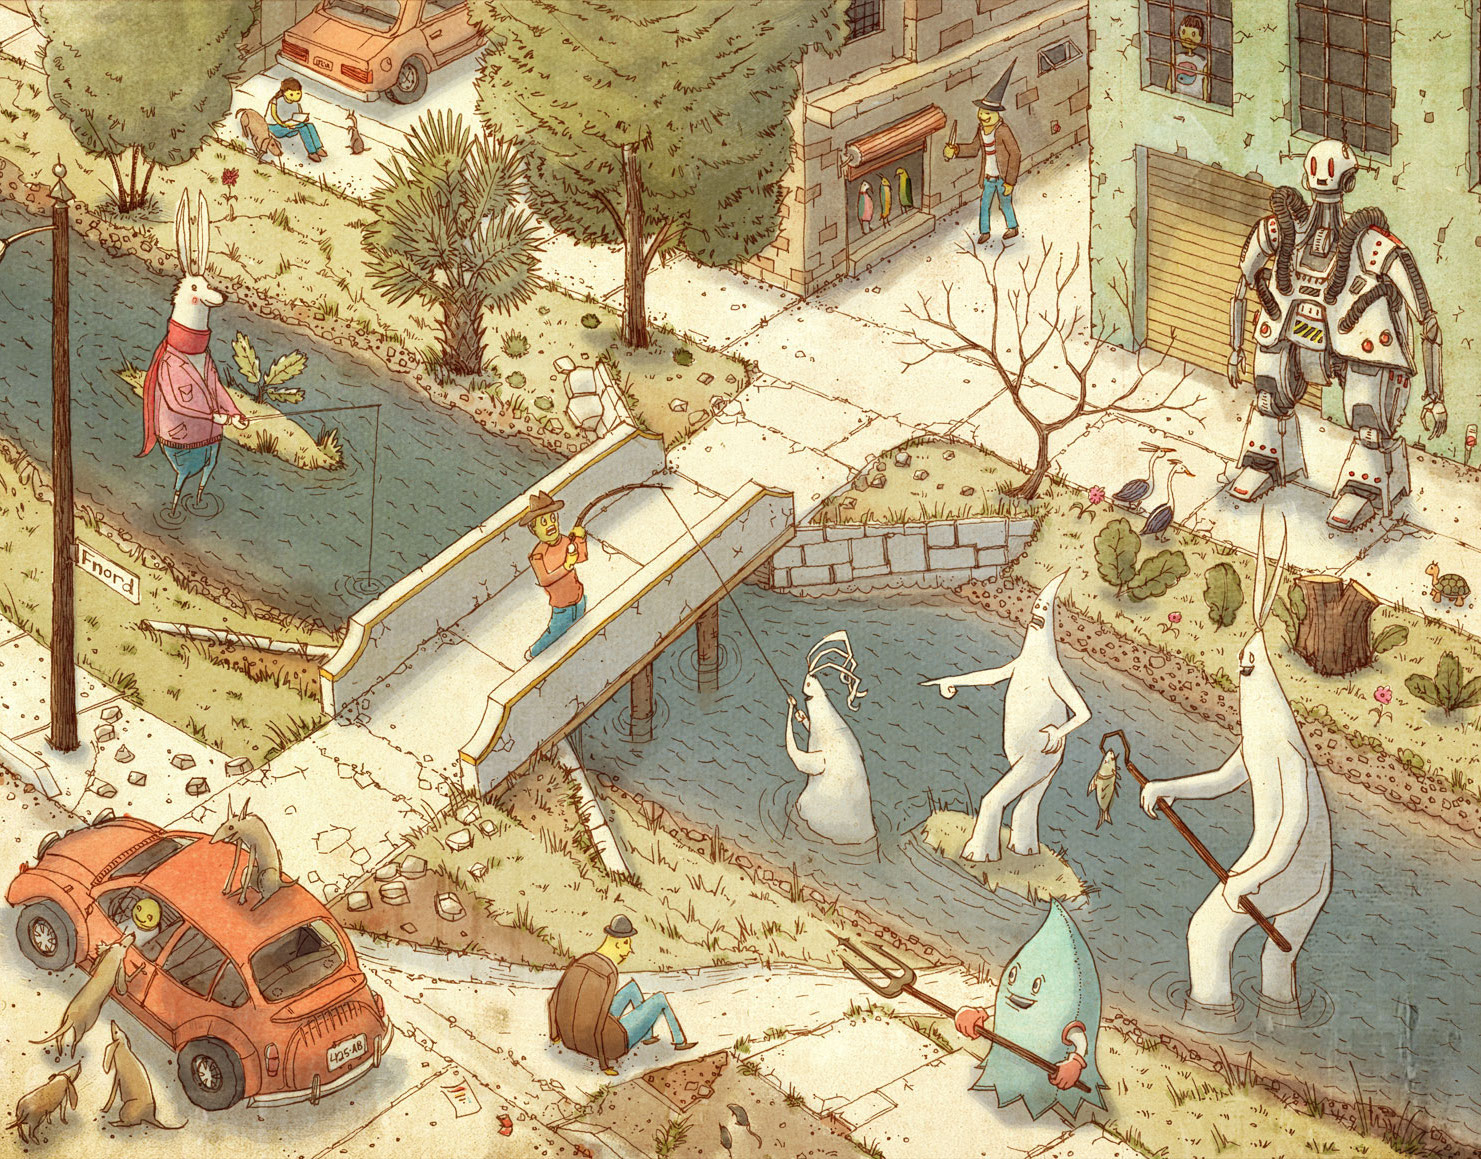
Bridges Over Redbrick Weapontruck
2016
Aliens Landing in Spidertown
2016

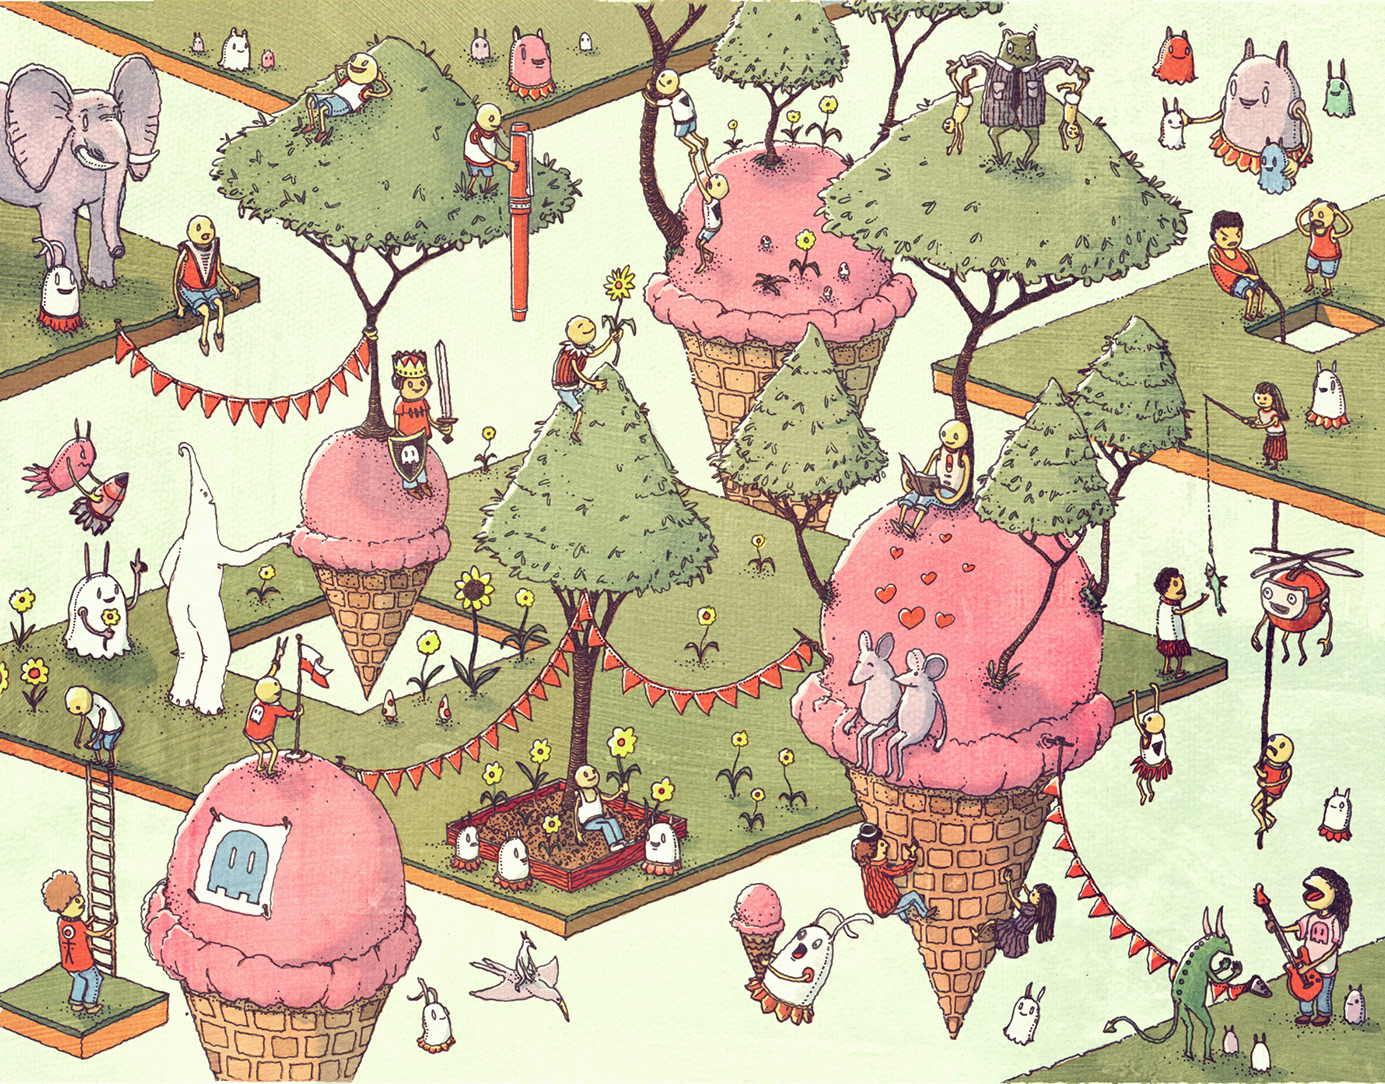
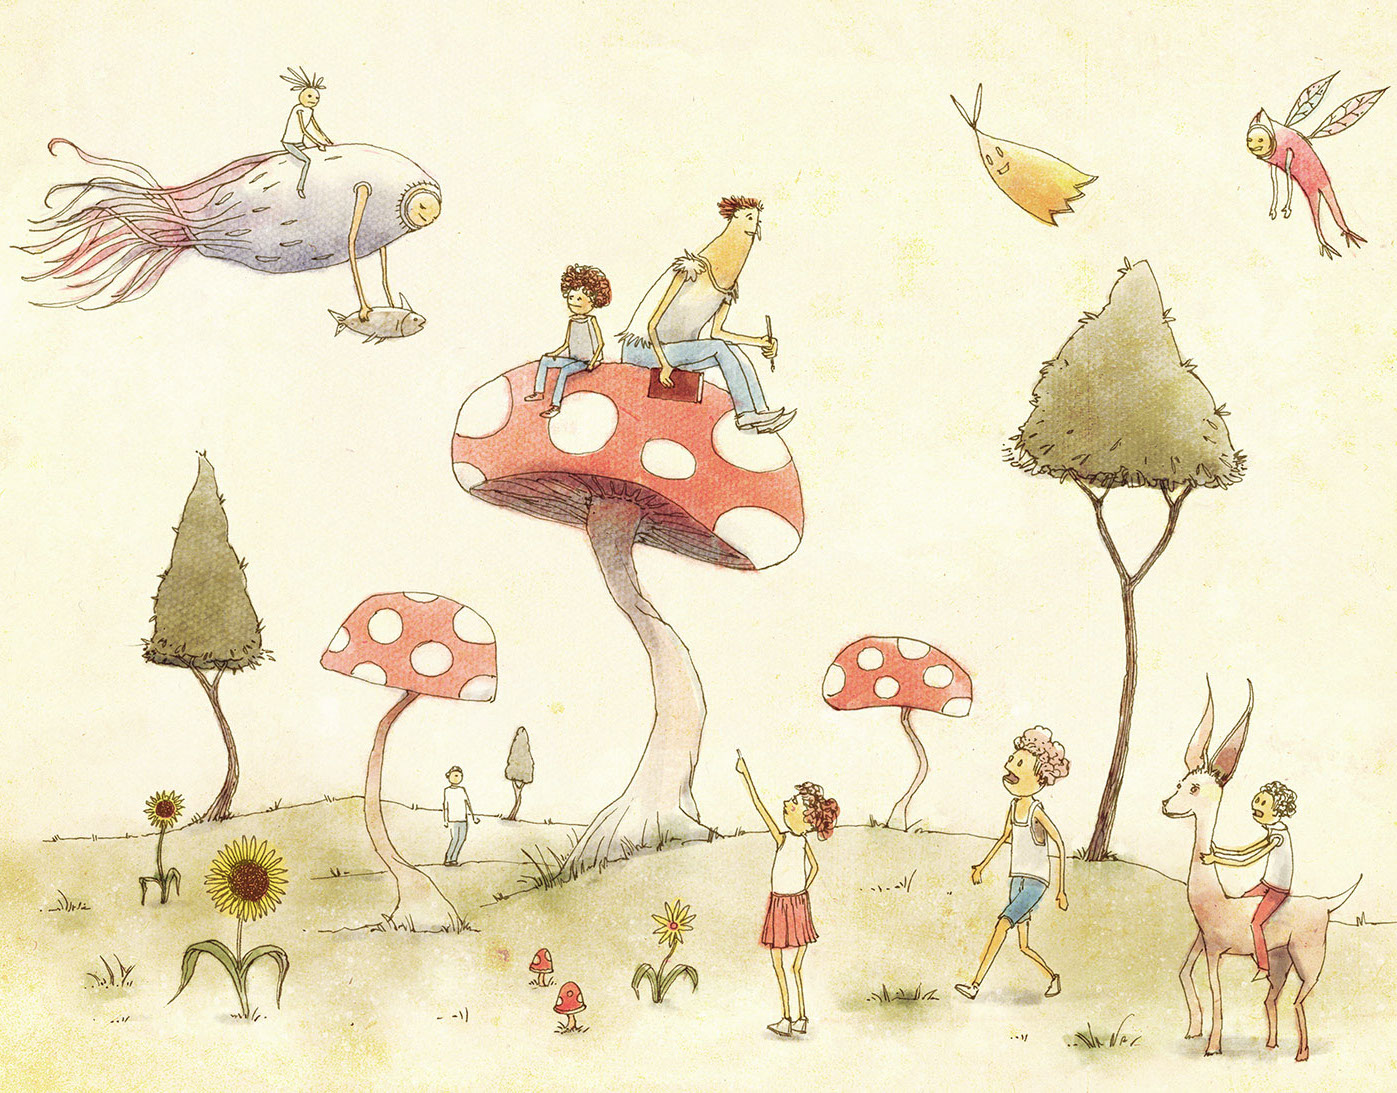
Mushroom Tubes & Monster Gardens
2016
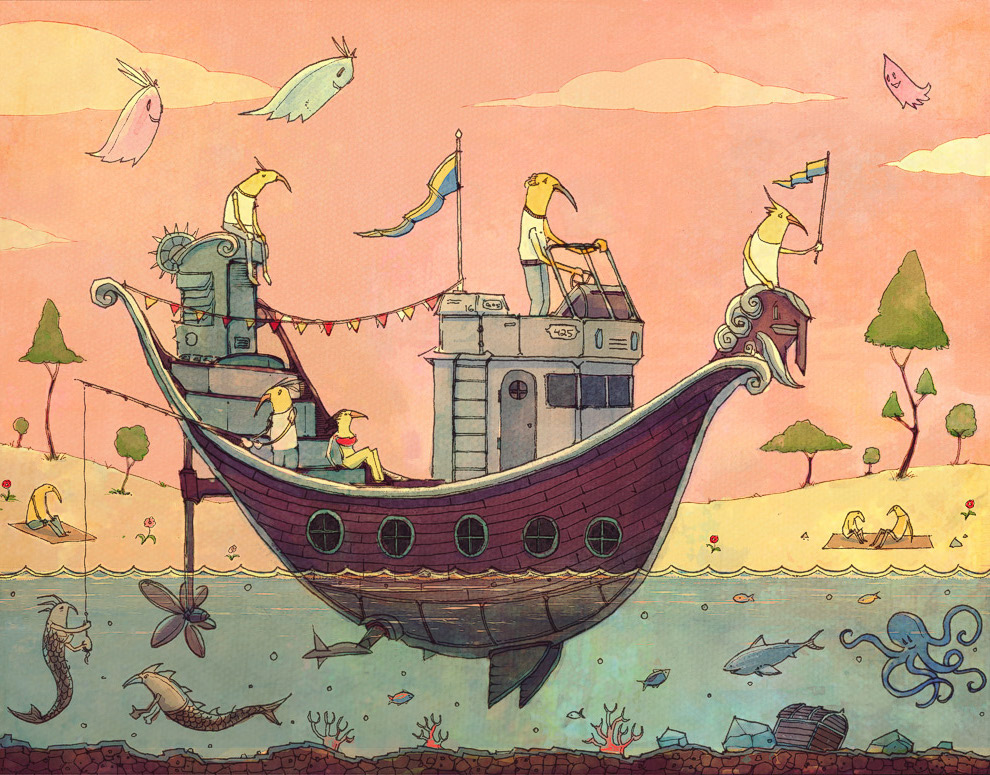
New York Dangerboat
2016
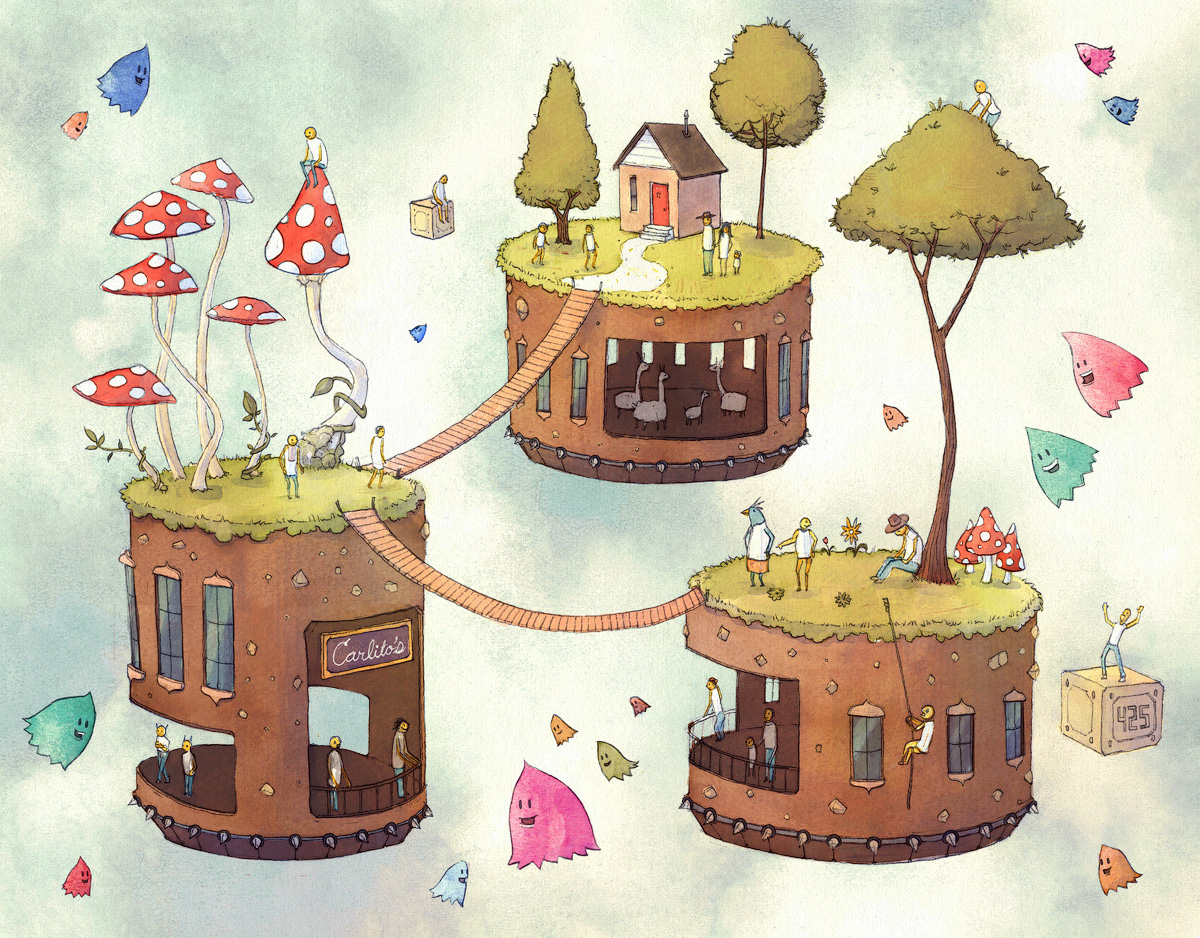
Carlito's Ghostmaker
2016